Ant V2.0 Video #1
Ant V2.0 Video #2
MicroCore Walker:
Ant V1 Video #1
Master-Slave BiCore Walker:
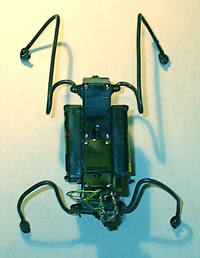
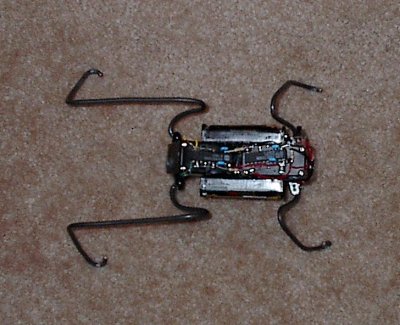
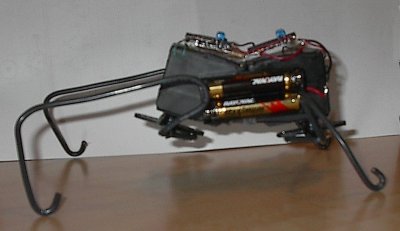
Click on any of the pictures to see see them full size.
Right-click the Video links below, save the video to your computer and run it from there.
This page is changing daily, so hit F5 or refresh your screen to make sure you're seeing the latest version...
MicroCore Walker:
Master-Slave BiCore Walker:
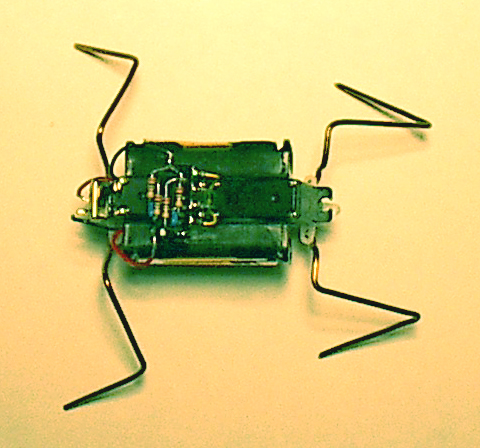
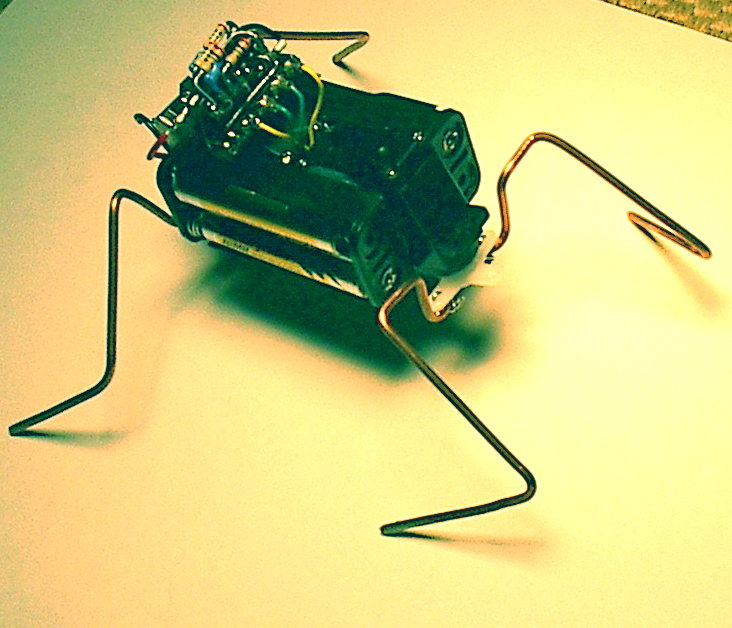
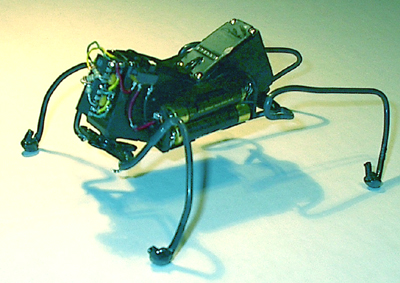
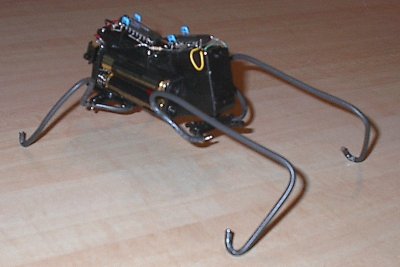
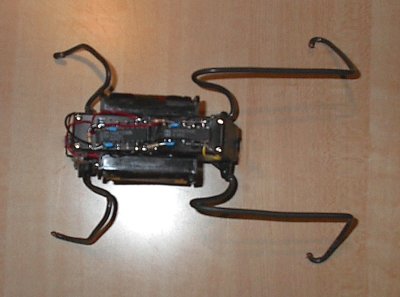
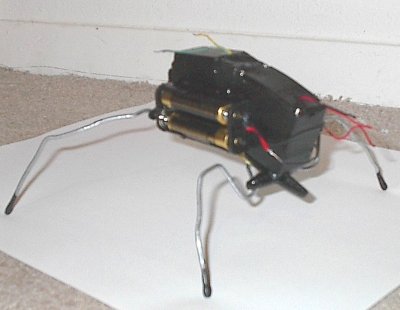
Latest Leg Design. Very similar to the Version 2.1's design, but made out of Aluminum wire. Stiffer, lighter, stronger and look way cooler. Notice the bare metal bateries to match the legs...
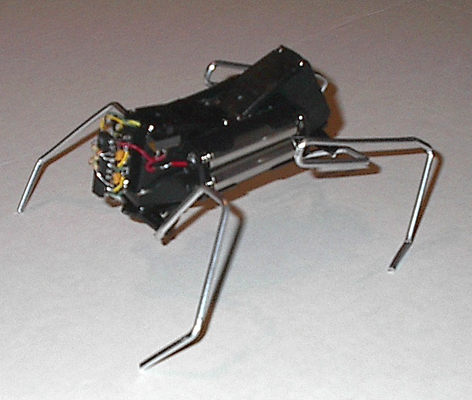
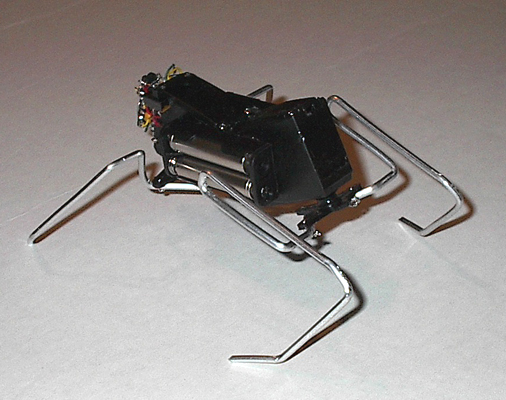
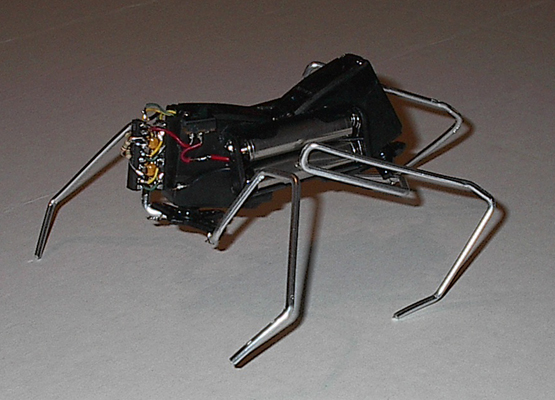
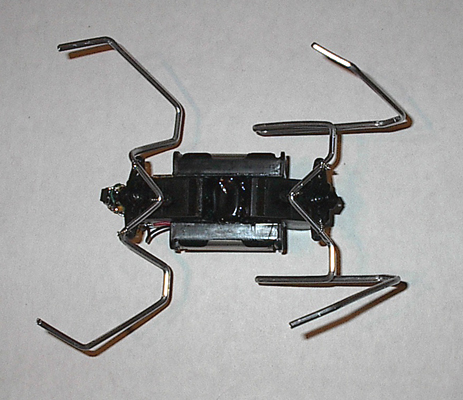
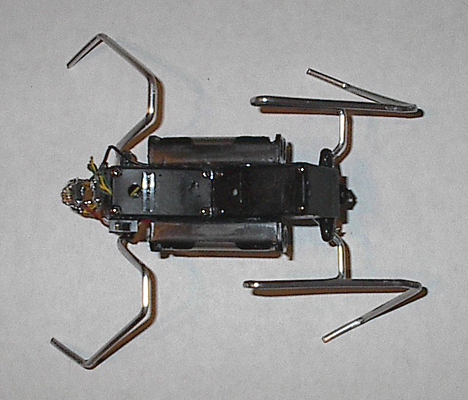
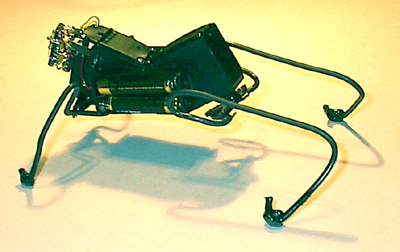
New and improved legs... They not only have a more "finished" look; I re-balanced the walker and now it walks smoother and can climb over a thin book. (about 3/4 of an inch thick) where with the old legs itwasn't so good at climbing at all.

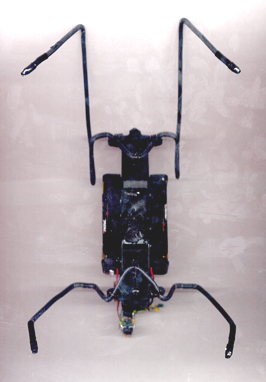
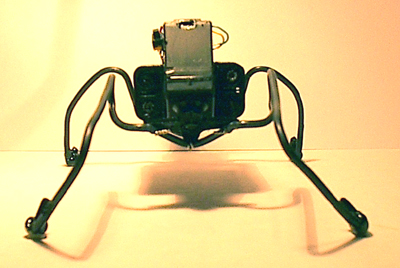
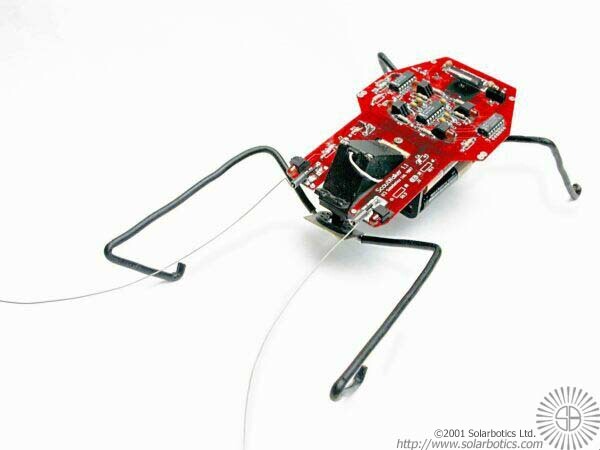
Grasshopper 2.0
Here's the new layout I used from Version 2.0 and up:
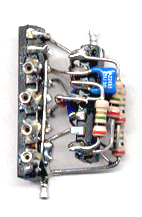
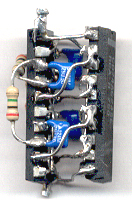
Master/Slave BiCore:
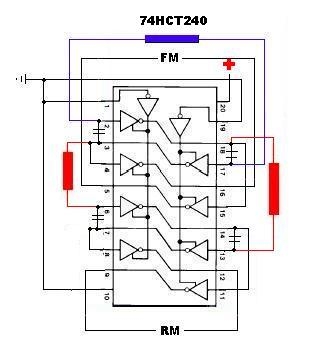
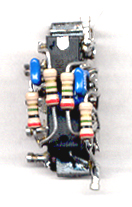
Motor Driver:
All Caps are 0.22uF and all resistors are Master: 3Meg (orange-black-green-gold) Slave: two 2Meg (red-black-green-gold).
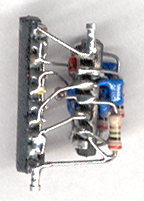
Here's the Master/Slave BiCore attached to the Motor Driver (I later changed the Resistors, so don't go by the color code on the resistors shown here):
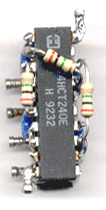
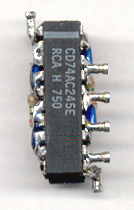
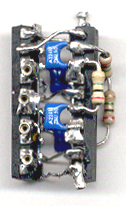
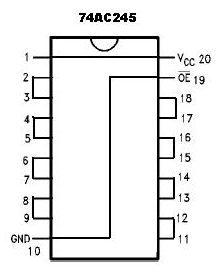
It's a master-slave BiCore on a 74HCT240 chip and a 74AC245 (not shown) as a motor driver. It worked much better than the two 74HCT240's I used before.
The only catch is that the 74AC245 motor driver gives it so much power (and the servos + AAA battery holders are so light) that the walker will loose traction and slip and slide a lot when the batteries are brand new. -- That's why I used the gobs of hot glue on the feet at first.

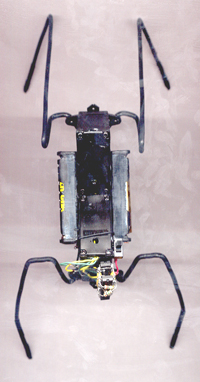
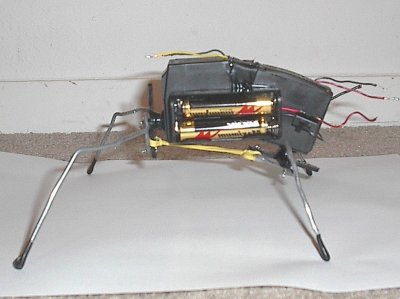
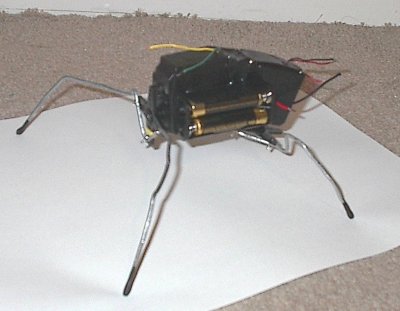
Grasshopper 1.5
Thanks to Dave Hrynkiw from Solarbotics for referring me to the ScoutWalker 1.1 manual to study leg setup. It made ALL the difference in the wo
Any similarity with the ScoutWalker 1.1's legs is NOT purely coincidental.
I removed the brain to work on the servo and leg layout. Click HERE to see the setup I was using.
I got it from Brian's BEAM page.